Here are some of the tools I used to develop this image:


A large, fuzzy pipecleaner was bent into shape for another stamp. I stuck it onto thick card with rows of double-sided tape.

I moulded a large piece of modelling clay (this is about 15cm long) into the letters from the image.

I made a reverse stamp so I could print the background of the image by cutting the foreground image out of a piece of modelling clay.

So I could try screenprinting I used freezer paper to cut out a foreground and background image.

I used a glue gun and "wrote" onto thick card to create a print stamp.

And I made these images:
The glue gun stamp was my first attempt, printing with gouache. I spread lines of gouache onto a kitchen sponge in stripes to give stripy colours in the print (not very visible here but they are there!). It was quite effective but the glue wasn't a thick enough surface to give a strong image. I could perhaps have gone round again with the glue gun or use string to create the image. Maybe if I practiced more with the gun I could have produced more even lines.

I used the stencil with gold paint, stuck it to the fabric and used a paste spreader to get this effect. It isn't perfect as you can see because I was a bit impatient and didn't allow it to dry thoroughly enough and it took a little while to get the balance of paint and pressure of spreading right, but the spreader and stencil were surprisingly effective! This could work on a wide range of fabrics if the consistency of the print medium is right. It is great for very small stencils (see next series of images) because there is no need to mask off a large area of a screen just to use a tiny area of it. It is also relatively quick!

Here I used natural dye inks and a mouth-spray over the modelling clay letters to create a large, single monogram print. This would be a good scale for larger prints on longer pieces of fabric such as curtaining or furnishing fabric. Or maybe a statement centrepiece for a garment but would probably need to be applied after cutting out the garment pieces so it could be sure of being centred. Although rather messy, I really enjoyed watching the layers of sprayed ink blending and building up. Concentrating the spray in certain areas and leaving it finer in others gave very interesting effects. Where the colours blend the eye sees a third colour even though only two were used.


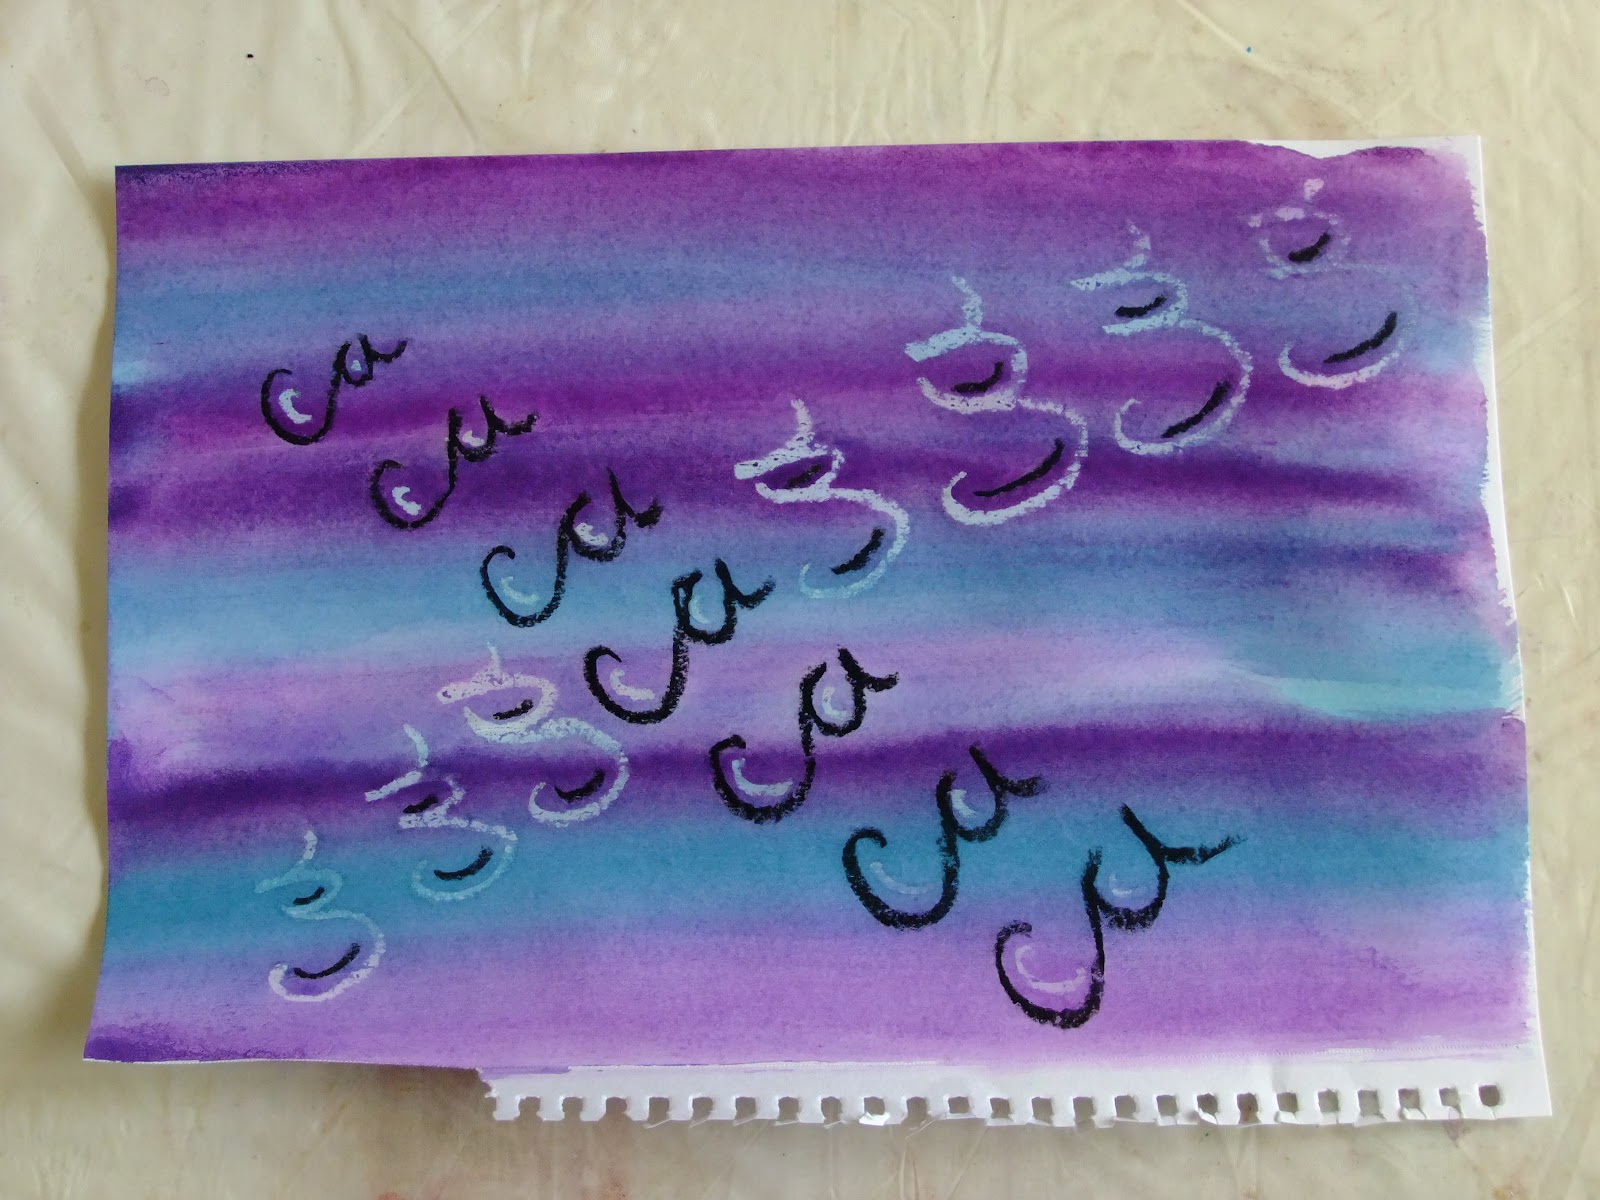
Freehand drawing using wax pastels in both black and white then a wash of watercolour over the top. I included the white pastel as I was trying to replicate the effect of a discharge print by treating the white sections as though the colour had been discharged (or a resist applied before painting).


The modelling clay makes an interesting print that changes as the clay warms, causing it to slightly change shape during printing. I like this effect but can see that if I wanted consistency of print I could replace the modelling clay with something more permanent such as a lino block or screenprint the image.


Freehand drawing with some jewel paints, allow to dry then watercolour wash with Anilinky watercolours over the top. I could see this using gutta and dampened silk, maybe with salt?


Stencil and screenprints using background template first, drying then overprinting with the foreground image. I think this would screenprint well onto fabric, maybe rough-blending two thickened dyes for the background so they keep the multi-tonal look.


