Tuesday, 26 March 2013

Assignment 2: Project 3 - Stage 5 - Coloured Stitches

(DISPLAY BOARD PIECE - BOARD 1 OF 10)

Working with primary colours and a selection of different yarns and threads on a black background:

This sample was interesting to see how the density and placing of the colours causes one colour to "pop" while another recedes. The turquoise is clearly the strongest contrast against the black background and lifts each section. In the top right section the use of small turquoise stitches at the edges makes the black and blue more dominant. The red is most visible where there is no turquoise.

Here the dense areas of blue lift the red highlights. The spaced lines of red and blue with black in between brings out the black as a strong contrast

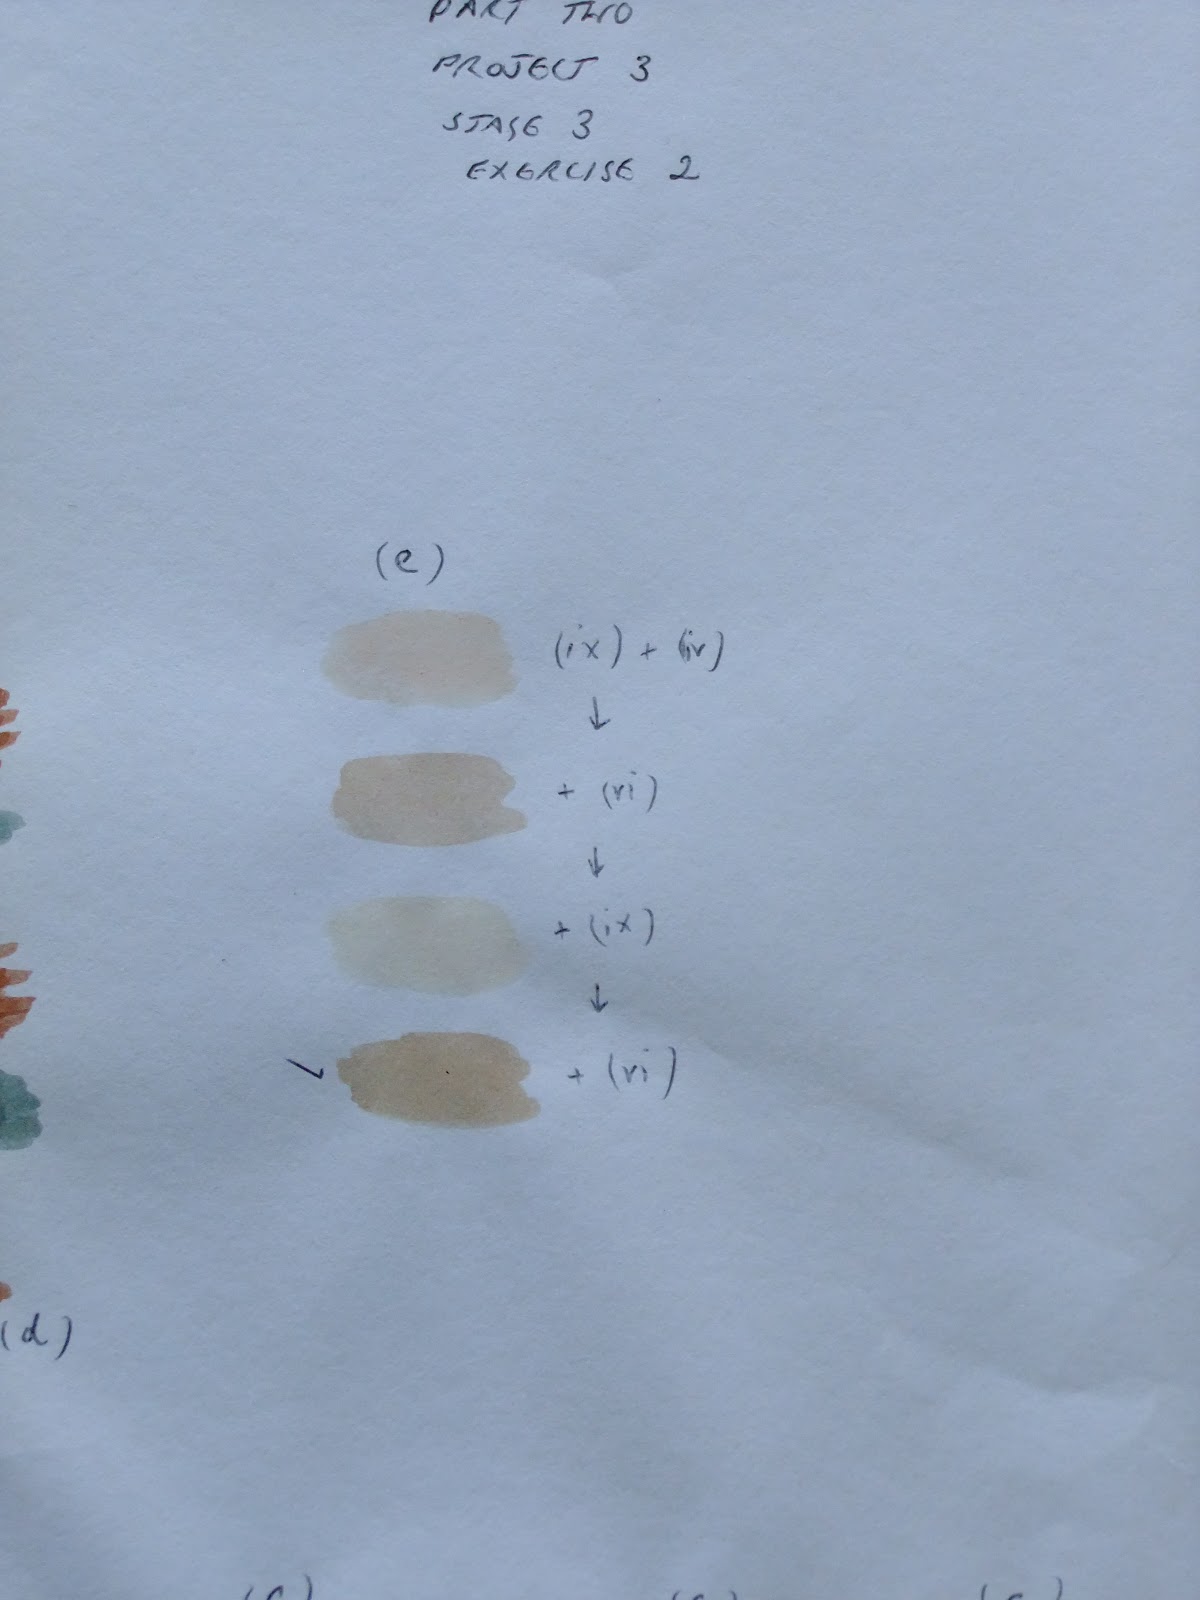
Playing with sizing, spacing and colour...


Using dense stitches woven into a lattice to create a solid mesh of colour...

...and using the same technique to replicate warp and weft in a weave. The similar depth of shade of the two colours means that neither is dominant and they blend together.

Here I've used tiny stitches and combined three primary colours in different combinations. I wanted to see how the colours affected each other where the key variable was just the two colours. Working numerous permutations together allowed this to be seen more easily. The yellow largely predominates over both red and blue and is also a strong contrast against the black background. The pale blue and yellow are the exception, I assume due to the similarity of depth of shade. The red is striking viewed from a distance and is stronger against the pale blue. The deeper blue is dominant against the red.

This was just a bit of fun!

Monday, 25 March 2013

Assignment 2: Project 3 colour - Stage 4 - Colour Moods and Themes - Exercise 2

Colour bags

Here are a couple of colour bags I've made up. I hope to be using these at some point during the course!


Assignment 2: Project 3 colour - Stage 4 - Colour Moods and Themes - Exercise 1

Stage 4, Exercise 1

Expressing opposing feelings using a combination of colours and marks:

Sad:Happy

Sad:

Happy

Bright: Dull

Bright


Dull


Relaxed: Tense

Relaxed


Tense:


Active: Passive
Active:

Passive:

Conclusion: 
Looking at these images, I can see that there is some degree of overlap. Some of these images could fit into several categories ("tense" images also create a feeling of "active", "passive" images are almost interchangeable with the "relaxed" images).

Using strong strokes and intense saturated colours for me creates positive, active sensations. They are bold, striking and deliberate.

Dilute shades, blurred, watery images in dull colours for me represent the more laid back, passive, but also negative sensations. By employing softer strokes and allowing water to soften the edges and to some extent control the flow of the paint is a passive, non-assertive process.

Tuesday, 5 March 2013

Assignment 2: Project 3 colour - Stage 3 - Recording colours accurately - Exercise 4

Pr 3, Stage 3, Exercise 4

For the three-dimensional objects I chose these objects:

These were my base colours and colour blends:


And my chosen shades applied to a rough painting of the objects:


I liked this arrangement of objects so I did a couple of pencil sketches as well...


Thoughts:
Some of my greens were brighter than in the photograph and the browns of the wicker ball weren't quite as varied as I would have liked. Although this wasn't about the drawing, I did like the effect I achieved with the flowers and leaves of the potted plant.

Monday, 4 March 2013

Assignment 2: Project 3 colour - Stage 3 - Recording colours accurately - Exercise 3

Exercise 3


For this exercise I chose an image of a plant I photographed at the Eden Project (I didn't make a note of the name which is a bit frustrating but we usually there at least once a year so I'll have to go this year and hope it's still there!).

I printed the photograph onto A4 paper to give good-sized areas of each colour. I played with the viewing frame and eventually settled on this section as representing enough shades but choosing ones that gave a complementary range.


This time I used even more base colours!


I specifically tried not to focus on painting the image but used broad strokes to capture the essential features and location of the colours


Assignment 2: Project 3 colour - Stage 3 - Recording colours accurately - Exercise 2

Exercise 2

For this exercise I chose a piece of furnishing fabric with a range of subtle tones. Matching colours to images and fabrics is one of the main ways I create yarn colourways (although I'm working with dyes rather than paints). For this process I start with the base colours then paint a blob of colour each time I add a new shade/dilute with water etc. I record each step alongside the blob of the new colour. I then keep the swatches so that I have a recipe book of dye shades for future reference.

For this exercise I followed the same process with watercolour paints. As you will see from the pictures, some colours took a while! I didn't always use the final colour as the changes when the paints dried meant that sometimes earlier colours were a better match.

Starting with the base colours...

Building each shade in the fabric....


And the finished piece...


Thoughts:
Overall I think the colour matching was quite successful. What surprised me was that the hardest colour to match was the palest shade, I think because there was so little pigment needed and it had to be just the right colour before adding white/water. I also used more base colours than I anticipated. This would be an interesting exercise to repeat with dyes using the same piece of fabric.