Following on from my experiments, I concluded that I liked the effect of the silk painting but preferred the pattern used for the felting. I therefore decided to combine these two aspects into a further design. I had used wadding in earlier exercises and found that this was a good way to add depth and texture without weight.
I began with the pattern sketch..

And the translation of the sketch onto a waistcoat front...

I then used graph paper to plot out the pattern so it could be traced out for a repeat pattern....

On the graph paper I tried out a sample colourway based on the original source material and the subsequent silk samples...

I worked this up into a sketch to see how the design and colour scheme might look in practice...


As the waistcoat would be viewed primarily from the front, I concluded that it would be more cost-effective, practical and comfortable if the back of the finished waistcoat was made with a satin fabric in a co-ordinating colour. A standard dressmaking pattern sourced from an old magazine provided the basis for the full-size waistcoat and I used this to create a large scale template on graph paper. This gave the basis for the dimensions of the pattern and the best size for the repeat (pattern and graph paper mock-up can be found in the theme book).


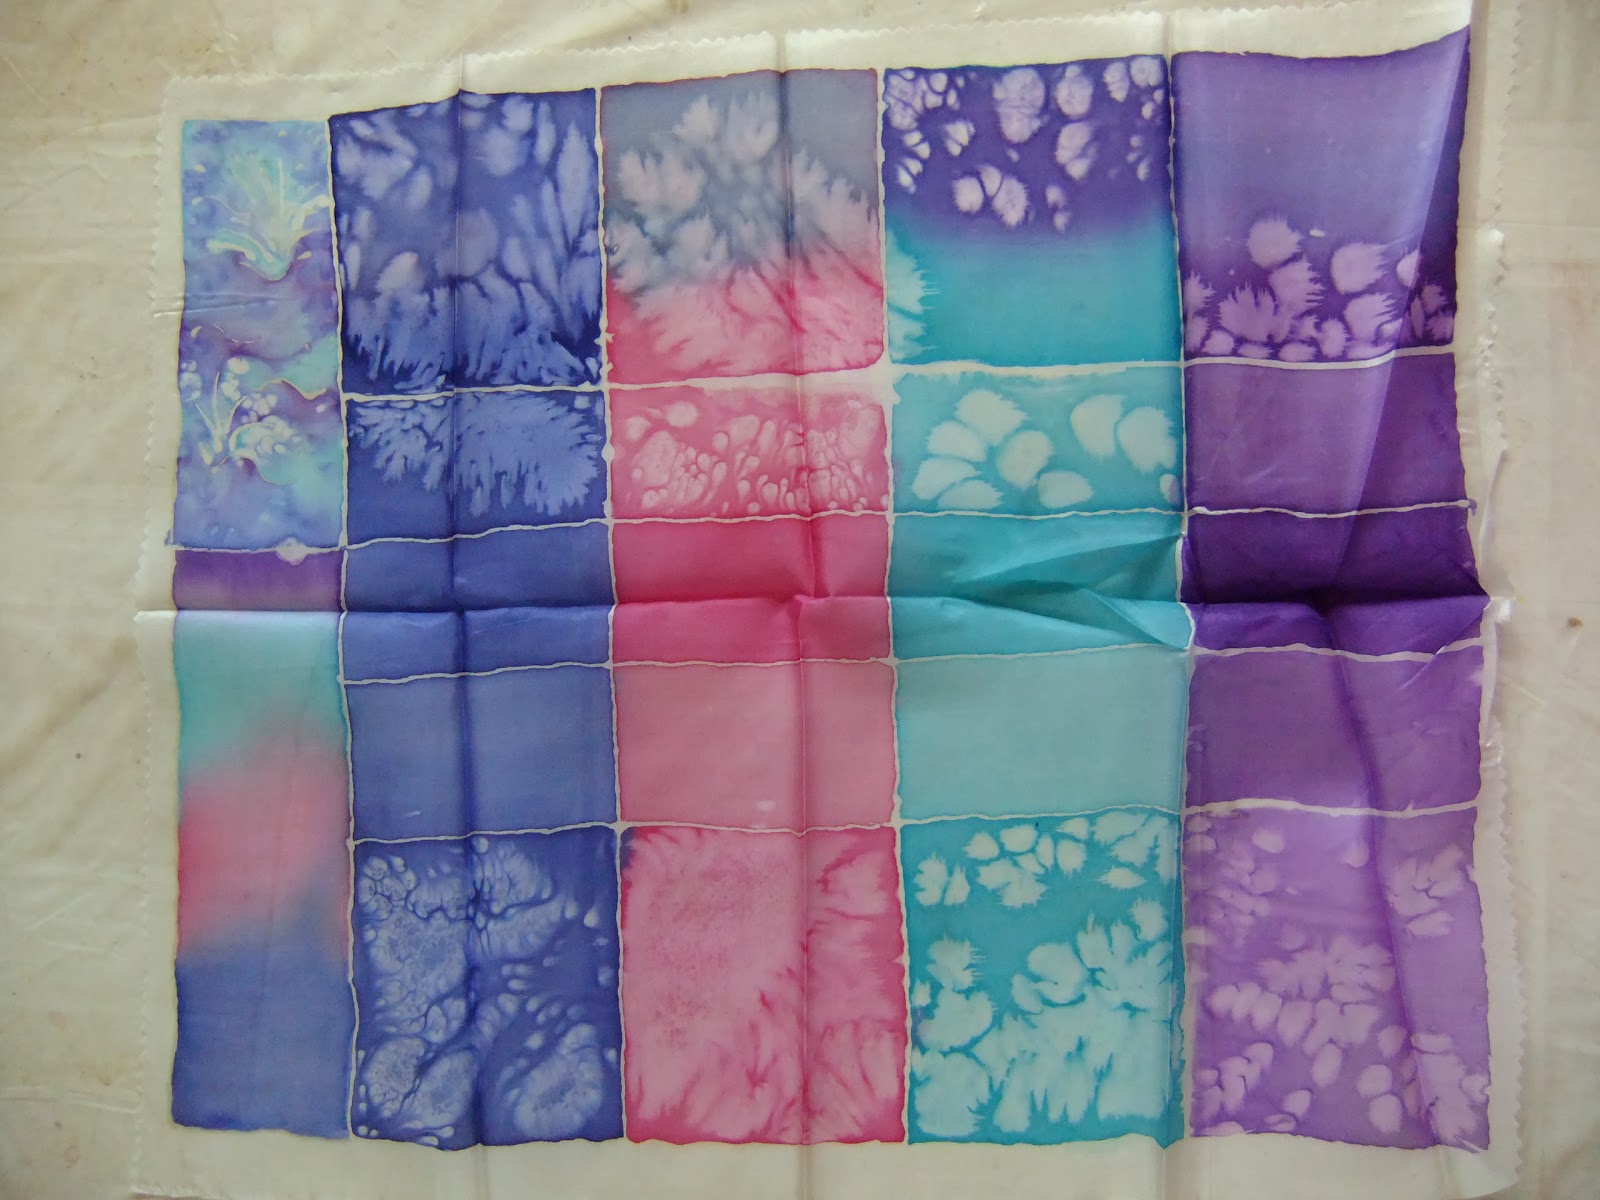
I used this article to refine my techniques for silk painting and using gutta as my initial results, whilst acceptable for sampling, were still a little random and I didn't want to waste precious silk. I also used Painting on Silk by Jill Kennedy and Jane Vassall.


Final sample
For the final sample I created a section of the front of the garment at actual size. I began by tracing the wave shapes onto parchment paper using black marker pen. The marker pen lines were drawn thickly enough to enable them to be seen through the silk. I stretched and taped the silk to a silk painting frame then laid it over the tracing. I used clear gutta to outline the wave shapes and allowed it to dry. I then used steam-fix deka silk paints to paint the silk, working carefully to ensure that the paint didn't bleed across the gutta lines.
One change from the original sketch plan was to use a crimson silk paint and a fine gold gutta outline instead of a thicker gold line to delineate the wave repeats. I felt that gold would be too heavy if worked entirely in gold metallic paint as the metallic fabric paints tend to be stiffer than the normal paints. They also have a tendency to flake off when flexed or during washing. This would limit the practicality of the fabric for a garment. Stitching a solid gold thread would need to be done in a satin stitch which would, I felt, be too dominant and could distort the fine silk fabric.
Once the fabric was dry and the gutta had been removed, I cut a piece of thin wadding and tacked it to the silk. I then used machine-stitching to outline the wave shapes in white thread. At this stage the piece was taking shape but the waves were flat and uninteresting, so I used a variegated metallic thread and hand-stitched into the waves to create sparkly highlights. I also hand stitched in gold thread along the dividing crimson wave lines which gave lift and additional texture. I also added a sprinkling of metallic and pearlized seed beads along one of the repeats in the sample to create flecks of foam. I wasn't sure if this would be too much but I think that it adds life, interest and a sense of movement. Interestingly, although it wasn't strictly planned the use of the clear gutta left a white outline around the crests of the waves which gave them life and the appearance of seafoam.


