Saturday, 16 November 2013

Assignment 4 - Project 8 - Stage 2 - Experimenting with Structures - Exercise 2

(DISPLAY PIECE - BRAIDS MOUNTED ON RINGS)
This exercise called for making a series of braids, exploring texture, structure, materials and composition.

I created a series of twisted cords using a hair braiding tool that I picked up at a car boot sale!


I tried differing numbers of threads in each braid to give finer and thicker cords. I used different combinations of colours of wool in the first 4 (left to right) to see how colour blending could be achieved. The fuzzy cord (3rd from right) is a wool yarn witha  loopy boucle acrylic. The thicker cords are pure wool. The thicker cords using more threads gave a really nice, rounded cord.


I experimented further by working a number of braids using finger knitting (top and middle) and French knitting (bottom). These produced almost squared braids. The finger knitted braids were open, stretchy and flexible. The French knitted braid (also called knitting Nancy, knitting dolly or cork knitting) was a much firmer braid - still quite stretchy but this could be reduced by using a stiffer yarn or twine.


I had the opportunity to try Kumihimo Japanese braiding using a traditional marudai. I made two round braids in soft cotton and one flat braid from fine, pure silk. I incorporated different pattern structures by changing the colour sequence. It was quite challenging and time-consuming but the results are very satisfying.


I also produced a number of small skeins of handspun yarn. A ply of yarn was spun from hand-dyed roving or fleece, then plied with a second ply to create a 2-ply yarn.


One of the samples was further plied with a third ply to create a crepe or 3-ply yarn. The 3-ply produced a firmer, more rounded yarn.
Using a range of different fibres with varying composition (wool, alpaca, slubs of silk, angelina) gave interesting effects in the finished yarn.

The final sample was a braided roving. This had been hand-dyed using natural dyes (madder and old fustic). The braid was a simple looped chain.

Assignment 4 - Project 8 - Stage 2 - Experimenting with Structures - Exercise 1

This exercise involved making woven pieces, starting with paper. Starting with simple squares cut from magazines.


Looking at the back of the weaves was also interesting and revealed quite different colours.

Playing with assymetric shapes, non-square grids, hand-painted paper and curves.


Using other materials and varying the weave structures.

Upholstery leather and viscose fabric strips.


Mexican God's Eyes using hand-dyed wool, sticks and twine.


 Hessian sack fabric with threads removed to create weft spaces, interwoven with textured threads and yarn. The threads were left loopy to add extra texture.


There is plenty of scope here to carry on forever!

Friday, 15 November 2013

Assignment 4 - Interlude - Analysing Colour, Texture and Proportion

The aim of this interlude project was to recreate the key colours, the textural qualities and the relative proportions of each part of a chosen image using a selection of yarns and fibres that could be intepreted in a woven textile form.

My first image was a postcard from my collection.


I isolated the main colours then worked up the colours for each section using Windsor & Newton Cotman Watercolours, annotating the colour components of each colour swatch at each stage. The selected images (ticked) were then used as the basis for the yarn wrap.

It was interesting how some colours were very quick to match, others (4, 6 and 7 in this case), were really quite tricky. 

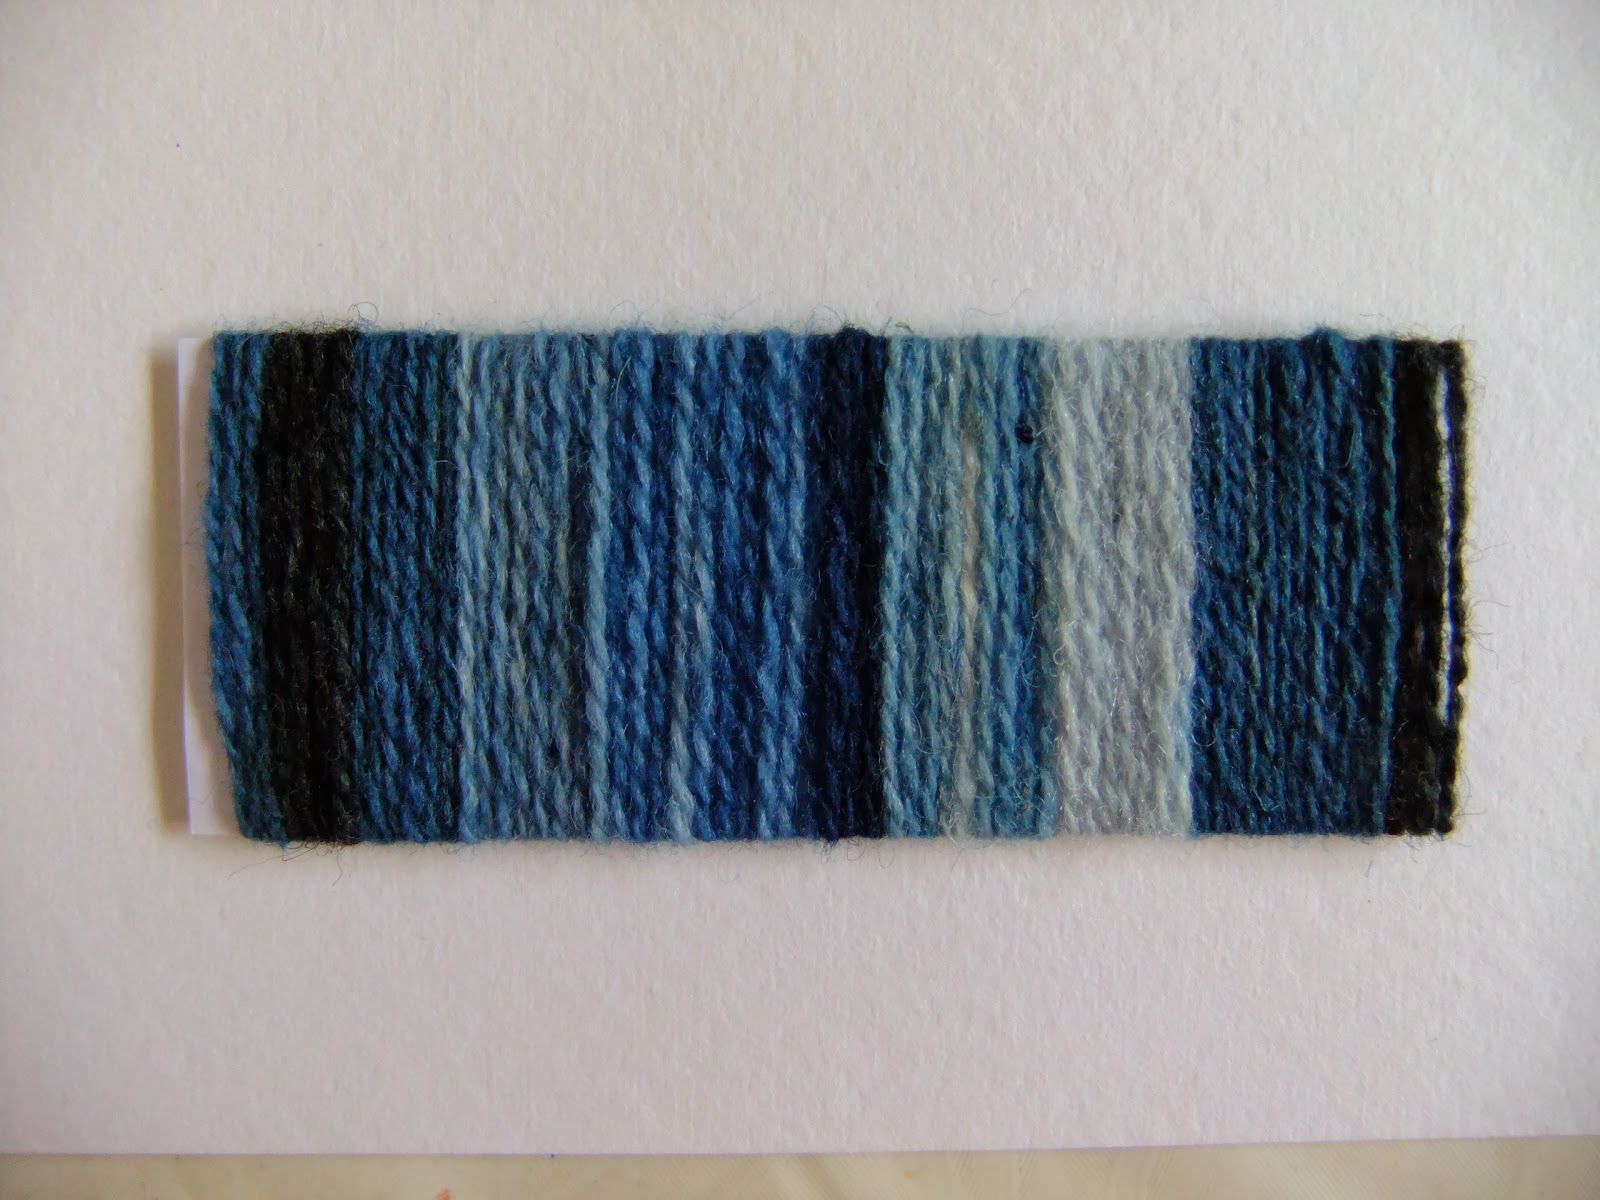
I focussed on the colour for this wrap, using a range of naturally woad and indigo-dyed wool yarns. Although ostensibly very similar in colour, viewed in natural light there were subtle differences that captured the subtlety of the largely monotone postcard. 

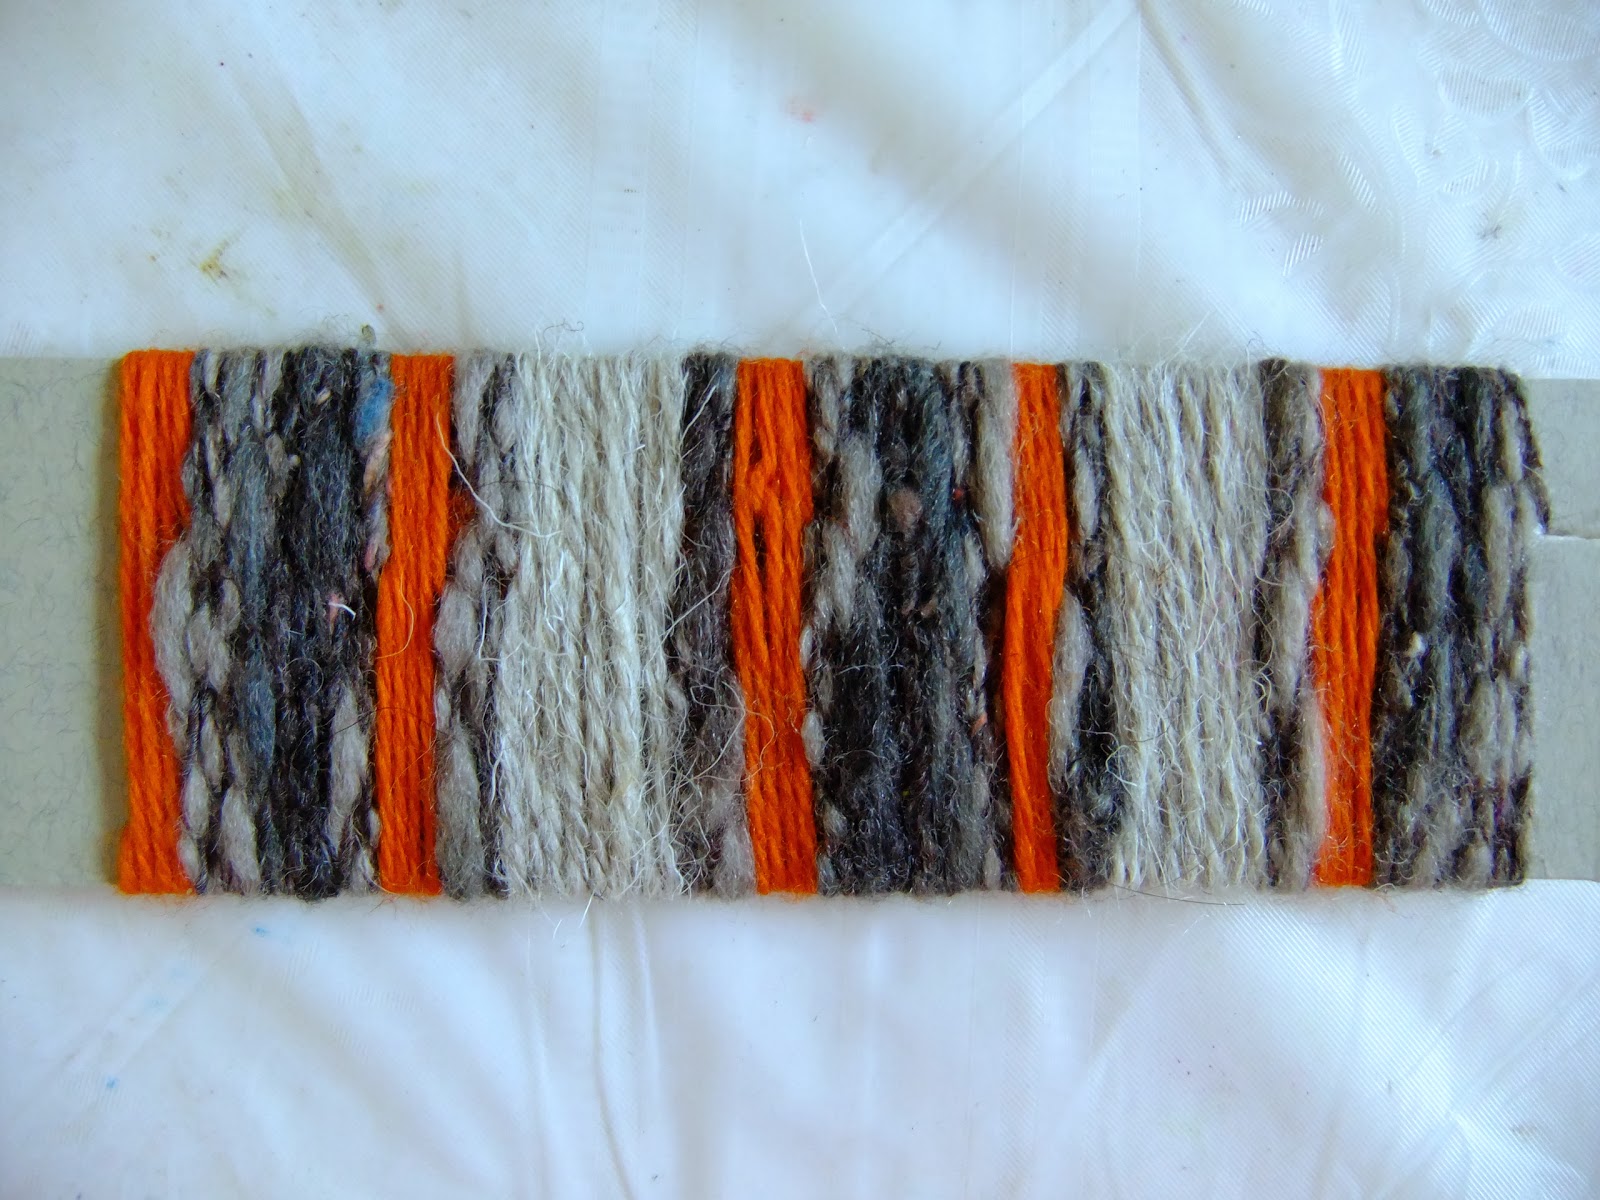
For my next wrap I made up a mood board with a selection of photographs. The theme for the board was "Bleak" and the plan was to make a wrap based exclusively around neutrals - black, white and grey. Bleak also made me think of desolate, lost and abandoned so I used mainly waste fabric, offcuts of yarn, plastic packaging, waste pieces of wadding - things that would normally be abandoned or thrown away.


I also tried a couple of intuitive wraps, working straight from my pile of yarns. One I've warped up for an inkle braid which is warp-faced so the wrap will accurately represent the plan for the pattern. The second was inspired by autumn colours following a canalside walk.


Monday, 1 July 2013

Assignment 3 - Action Points and Thoughts From Tutor Feedback

I was pleased with the tutor feedback and felt that there were some very useful pointers and some observations that I hadn't appreciated but which, looking back having not seen the work for a little while, I can now see.

This of itself raises an interesting question about viewing one's own work. Often I am finding that I get can evaluate a project much more objectively if I put it to one side periodically and let it "rest" for a couple of days. I see things differently when the work has been out of sight for a little while. Perhaps this is because I see it more as a third party would and it becomes divorced from the work that went into it? I also find that photographing my work and viewing it from photographs gives me another perspective. The camera sometimes picks up aspects in a way that the eye does not. I think that this may be to do with light and shade as our eyes are very efficient at adjusting to light and shade whereas a camera is much more limited so seeks to balance out nuances in lighting. It may simply be that a photograph further distances me from the work, giving me the opportunity to view it more impartially and critically.

Onto the specifics:
Project 6 - Stage 3


Cut back applique - a good point here about the cut-back areas. I was struggling with the available area for cutting so I think if I were to repeat this exercise (which would be interesting), I would need to work on a much larger scale. I do struggle with working on larger pieces but am appreciating the value of the smaller piece as a sample/test for a larger work.

Blue and Pink Swiggles - I had a lot of fun with this piece, experimenting with free machine embroidery was really quite liberating.

Project 6 - Stage 4


The expanding print medium was quite unexpected - more difficult to use than I thought but very useful for texturing. Something to play with further.


I agree with the tutor about the interlaced green and yellow weave. It was infuriatingly difficult to get the fabric to disintegrate with the devore paste, perhaps because it was a furnishing fabric so intended to withstand a lot of punishment. A useful lesson in selecting the right technique for the right fabric.

Final piece


I  had done drawn samples for this project and had played around extensively with the layout (there is lots more to explain this here and here). As I only had limited quantities of certain materials I was limited as to the amount of stitched sampling I could do (the downside of using reclaimed materials!).
Looking at it again, I can see that the gold mesh is quite dominant. The intention was to capture the idea of the machinery being seen through a metal grille but perhaps this didn't work as well as I had hoped.

Although the tutor makes reference to the use of found images, often I start from a sketch but take a photograph of the same setting for future reference. As I often don't have a lot of time to sit and do detailed sketching or use paints etc. I frequently do quick sketches and then take a photograph so that I can contextualise the sketch, pick up colour and textural detail etc. as required. So my work is based on a combination of sketches, some photography and some found images.